DIY: Create Your Own Papier-mâché Poké Ball
Pokémon fans will love this creative project! Making a papier-mâché Poké Ball is an ideal activity for spending time with family while stimulating the imagination of both young and old.
Follow this step-by-step guide to create a beautiful Poké Ball that your kids can proudly show to their friends.
Required Materials
Before you start, make sure you have everything you need:
- Balloon (or polystyrene ball)
- Newspaper (or recycled paper)
- Papier-mâché glue (mix of flour and water or diluted white glue)
- Acrylic paint (red, white, black)
- Brushes
- Varnish (optional)
- Tape (to hold sections in place)
- Scissors
- Bowls and brushes (for mixing and applying glue)
Steps to Follow
1. Preparation
Inflate the balloonto the desired size of your Poké Ball and tie it securely. Then tear the newspaperinto strips about 2 to 3 cm wide. It's fun and easy, even for little hands!
2. Application of Papier-Mâché
**Prepare the glue by mixing flour and water,**or by diluting white glue with water. **Dip each paper strip into the glue,**remove the excess, then apply it to the balloon. Cover the entire balloon in several layers (about 3-4 layers for good thickness),letting it dry between each layer. This can take time, so be patient!
3. Drying
**Let the balloon covered with papier-mâché dry for 24 hours,**or until it feels hard to the touch. This is the perfect time to play other games or read Pokémon stories!
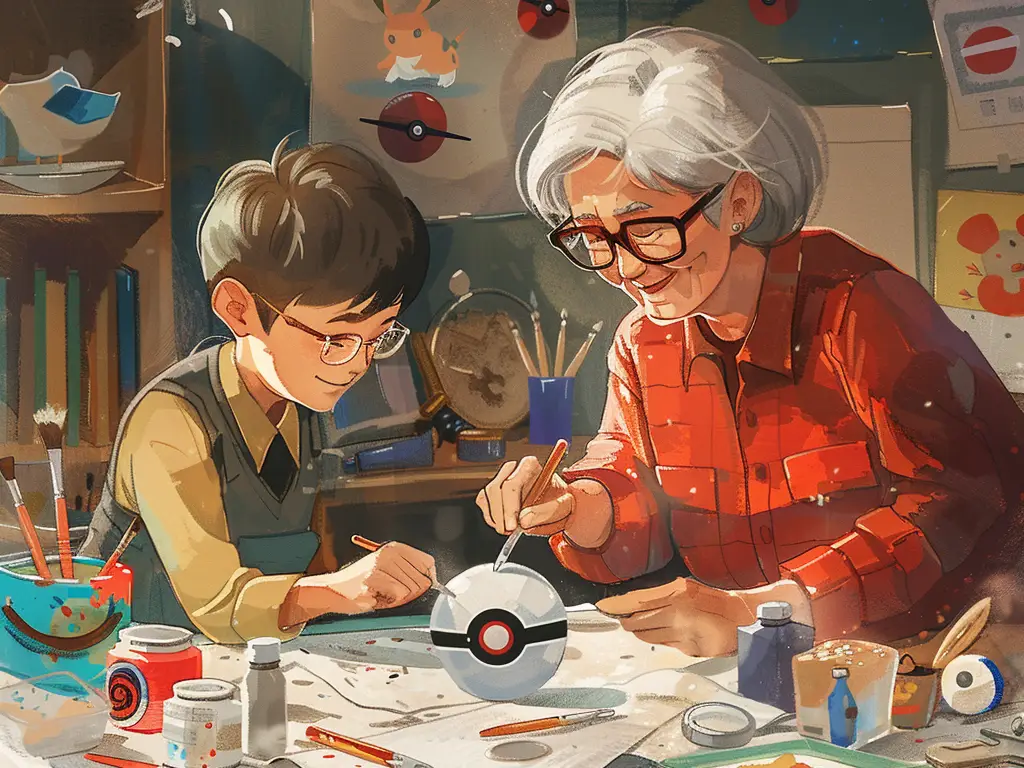
4. Painting the Poké Ball
Paint the bottom half of the ball white and let it dry. Then, paint the top half red and let it dry. Once the red and white paint is dry, paint a black band around the ball where the two colors meet. Be careful, this is the trickiest step!
5. Adding the Details
Use adhesive paper or paint to add a white circle in the center of the black band. Draw a smaller black circle in the center of the white circle to complete the Poké Ball look. Voilà, your Poké Ball is starting to look great!
6. Finishing Touches (Optional)
To protect the paint and give a shiny look to the Poké Ball, apply a coat of varnish. This step is optional but will make your creation even more beautiful.
Tips and Variations
For the more creative, why not try making alternative versions like the Great Ball,Ultra Ball, or even theMaster Ball using different colors and patterns? You can also personalize your Poké Balls with unique designs or initials. Let your imagination run wild!
Congratulations! You now have your very own papier-mâché Poké Ball. It's a great decoration for your room or the perfect accessory for your Pokémon role-playing games. Don't forget to share your creations on social media. Have fun and keep exploring the Pokémon universe!